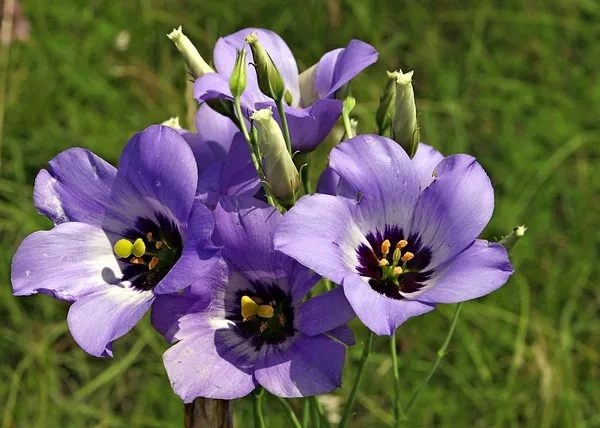
Flowers, with their delicate petals and vibrant colors, have long been cherished for their beauty and symbolism. While fresh flowers may only last for a short time, there is a timeless allure in preserving their splendor. One of the most captivating methods of preserving flowers is by pressing them onto canvas, creating stunning pieces of botanical art that can be enjoyed for years to come. In this full guide, we will explore the art of pressing flowers on canvas, from selecting the right materials to techniques for achieving beautiful results.
Press Flowers on Canvas
Pressing flowers on canvas is a wonderful way to capture the essence of nature and create unique pieces of art that bring the outdoors inside. Unlike traditional pressed flower techniques, which often involve pressing flowers between the pages of a book, pressing flowers on canvas allows for more creative freedom and the ability to incorporate other artistic elements such as painting or collage.
Materials Needed
Before diving into the process of pressing flowers on canvas, it’s essential to gather the necessary materials. Here’s what you’ll need:
1. Fresh flowers: Choose flowers with flat petals and vibrant colors. Flowers that are too thick or fleshy may not press well.
2. Canvas: Opt for a stretched canvas or canvas board in the desired size for your artwork.
3. Absorbent paper: You’ll need blotting paper or tissue paper to help absorb moisture from the flowers during the pressing process.
4. Heavy books or a flower press: These will be used to press the flowers flat.
5. Weights: You may need additional weights to apply pressure evenly.
6. Parchment paper: To protect the flowers and canvas during the pressing process.
7. Adhesive: Choose a clear-drying adhesive such as Mod Podge or a spray adhesive suitable for botanicals.
8. Optional: Additional art supplies such as acrylic paints, brushes, or markers for enhancing your pressed flower artwork.
Step-by-Step Guide
Now that you have gathered your materials, let’s dive into the step-by-step process of pressing flowers on canvas:
1. Preparation: Begin by selecting the flowers you wish to press. It’s best to choose flowers that are freshly picked and free from blemishes. Remove any excess foliage or stems from the flowers, leaving only the blooms.
2. Pressing the Flowers: Place the flowers between sheets of absorbent paper, making sure they are not overlapping. Carefully transfer the paper with the flowers to a heavy book or flower press. Apply even pressure by adding additional weights on top. Leave the flowers to press for about one to two weeks, depending on their thickness and moisture content.
3. Preparing the Canvas: While the flowers are pressing, prepare your canvas. You may choose to paint the canvas with a background color or leave it blank for a minimalist look. Allow the paint to dry completely before proceeding.
4. Arranging the Pressed Flowers: Once the flowers are fully pressed and dried, carefully arrange them on the canvas. Experiment with different compositions until you find a layout that you’re happy with. Keep in mind the overall design and balance of your artwork.
5. Securing the Flowers: Using a clear-drying adhesive, carefully glue each pressed flower onto the canvas. Apply a thin layer of adhesive to the back of each flower and press it firmly onto the canvas. Be sure to work quickly to prevent the adhesive from drying before the flower is attached.
6. Finishing Touches: Once all the flowers are securely attached, allow the adhesive to dry completely. If desired, you can further enhance your artwork with additional painting or embellishments. Consider adding details such as stems or leaves using paint or markers to complement the pressed flowers.
7. Sealing the Artwork: To protect your pressed flower artwork and ensure its longevity, consider sealing it with a clear varnish or acrylic sealer. Apply the sealer evenly over the entire surface of the canvas, including the pressed flowers. Allow the sealer to dry completely before displaying or hanging your artwork.
Tips and Tricks
1. Experiment with different flower varieties and colors to create unique compositions.
2. Consider incorporating other natural elements such as leaves, grasses, or ferns into your pressed flower artwork.
3. To prevent flowers from losing their color over time, avoid displaying your artwork in direct sunlight.
4. If you’re new to pressing flowers, start with simple blooms such as daisies or pansies before progressing to more delicate varieties.
5. Don’t be afraid to get creative! Pressed flower artwork allows for endless possibilities, so let your imagination soar.
Conclusion
Pressing flowers on canvas is a rewarding and creative endeavor that allows you to capture the fleeting beauty of nature in a timeless work of art. With the right materials and techniques, you can create stunning pieces that showcase the delicate intricacies of flowers for years to come. Whether you’re a seasoned artist or a budding enthusiast, give pressing flowers on canvas a try and let your creativity blossom.


